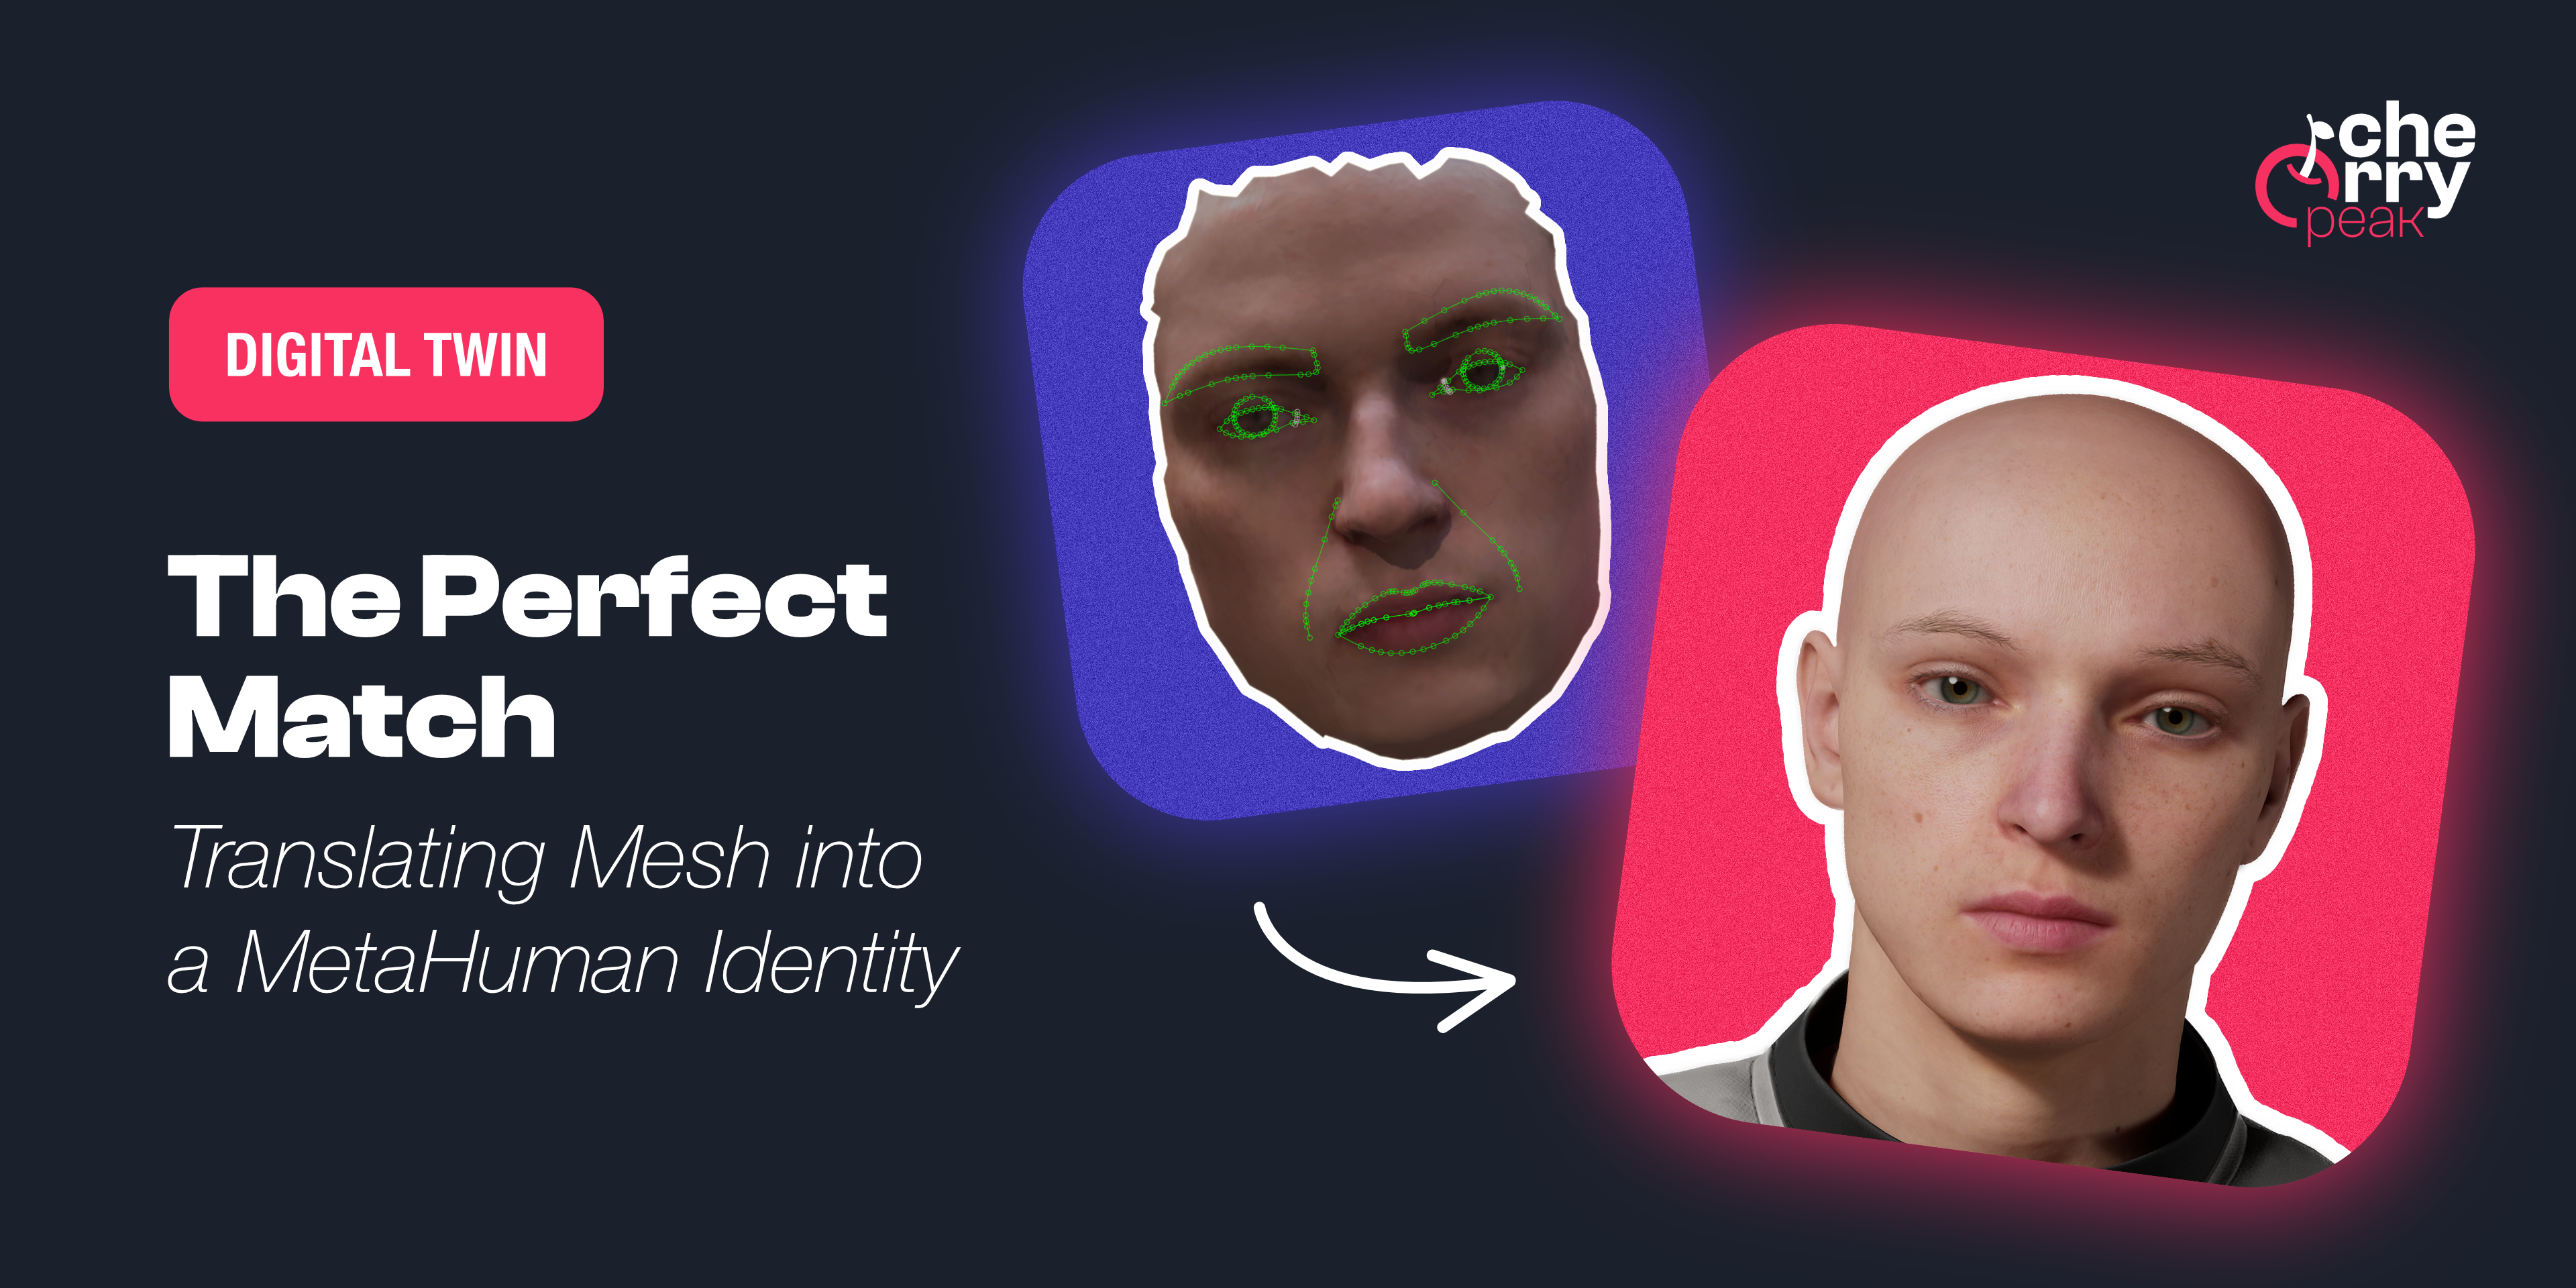
The Perfect Match: Translating Mesh into a MetaHuman Identity
Turn your raw 3D scan into a riggable MetaHuman. From trimming the mesh in Blender to Identity Solve and building the character in Unreal Engine, the face of your digital twin.

Samuel Kubinsky
December 18, 2025
6 min read
The Perfect Match: Translating Mesh into a MetaHuman Identity
Dev Log: "So I had a 3D model of my head and ninety-odd photos. Great. Now what? Turns out, Unreal doesn't just 'accept' a random mesh. You have to speak its language—and that language is called MetaHuman Identity. I spent an afternoon learning that 'identity solve' is the step where your lumpy scan finally becomes a riggable face. And yes, it's as satisfying as it sounds."
Where We Left Off
In Part 1, we captured a raw 3D mesh and a set of high-res photos using Apple's Object Capture (or Polycam). You should now have a .usdz file—your scanned head—and a folder full of .heic images. That data is the foundation.
Windows User Alert: Apple saves these photos as
.heicfiles. If you're on Windows and your apps say "File type not supported," don't panic. Install the HEIF Image Extension from the Microsoft Store and you're good to go.
This part is where we turn that foundation into something Unreal Engine can actually animate: a MetaHuman Identity, and from that, a full MetaHuman Character.
Trimming the Mesh in Blender
Unreal's MetaHuman Identity tool expects a face—not a full head, not ears, neck, and stray vertices. I opened Blender with a fresh scene, imported my scan, and got to work cleaning it up.
Here is the quick cleanup workflow:
- Select the Mesh: In the Outliner, I found my mesh (usually nested under
Object Capture -> Geometry -> Mesh) and selected it. - Align the View: I clicked on the X-axis (red circle) in the top-right Navigation Gizmo to snap the camera to a perfect side-facing view.
- Enter Edit Mode: With the mesh selected, I hit
Tabto switch from Object Mode to Edit Mode. - The X-Ray Trick: This is crucial—I toggled X-Ray Mode (
Alt + Zon Windows,Option + Zon Mac). - Select & Delete: I picked the Lasso Select tool (cycle with
Wuntil you see the lasso icon), drew a circle around the back of the head, neck, and shoulders, and hit X → Vertices.
Tip: If you don't use X-Ray, your selection tool will only grab the vertices visible to the camera, leaving the back of the head untouched. X-Ray lets you select through the model.
I was left with a clean "mask" of just the facial region. Finally, I selected the remaining mesh and exported it as an FBX with Path Mode set to Copy, toggled the Embed Textures button (the icon next to the dropdown) to On, and checked Limit to: Selected Objects.
 Cleanup process in Blender: Selecting and deleting the back of the head, neck, and shoulders to leave just the face mask.
Unreal, Plugins, and the Identity
Before any of this works, Unreal needs the MetaHuman Core Data (installed via the Epic Launcher). After creating a blank project, I went to Edit → Plugins, enabled the MetaHuman plugins, and restarted. Without this, the Identity and Character options simply won't appear.
Once the FBX was in the Content Drawer, I created a MetaHuman Identity asset (right-click in Content Drawer → MetaHuman → MetaHuman Identity), opened it, and used Create Components → From Mesh to load my cleaned-up face.
The viewport shows your scan with a default camera. The solver needs a clear, flat view to work its magic:
- Position the Camera: I moved the camera to be directly in front of the face.
- Flatten the View: I dropped the Field of View (FOV) to around 15 degrees. This removes perspective distortion and gives the solver a clearer map of your features.
I clicked Promote Frame to lock this view in, then ran Track Markers. This auto-detects the eyes, nose, and mouth contours. It's usually accurate, but I had to manually drag a few points to align the lip corners perfectly. When it looked good, I hit MetaHuman Identity Solve.
 Identity solve in progress: markers tracked on the mesh, ready for the solver.
Building the Character
I then created a MetaHuman Character asset based on this identity and opened it. This is where you stop looking like a grey statue and start looking like a person.
- Body & Shape: In Body → Model, I dialed in the basics: Masculine/Feminine, Muscularity, Fat, and Height. There are tons of sliders, but those four got me 90% of the way there.
- The Fit: In Head → Conform, I selected From Identity. I turned off "Use Eye Meshes," "Use Teeth Mesh," and "Use Metric Scale," then hit Conform. The MetaHuman head snapped to match my scanned geometry.
My scan wasn't ideal—and I'd cut off a fair bit of the head in Blender—so the conform needed help. I used the Sculpt tools in the Head section to nudge the skull shape and jawline back into reality.
- The Skin: In Material, I tweaked skin, eyes and freckles. The most critical setting here is Face Texture Index. Scrolling through these indices one by one is tedious, but finding the base texture that matches your pore structure and skin tone is vital.
- Hair & Clothing: I applied some placeholder hair and clothes just to see the vibe. Since I'm doing a custom groom later, I didn't stress about the hair too much.
Tip: Community assets from Fab (Unreal's marketplace) work here too. Add them to the project and drag into the MetaHuman Character window.
When the character looked right, I hit Create Full Rig (which takes a minute), then Download Texture Source at 4K, and finally Assemble in the Assemble section.
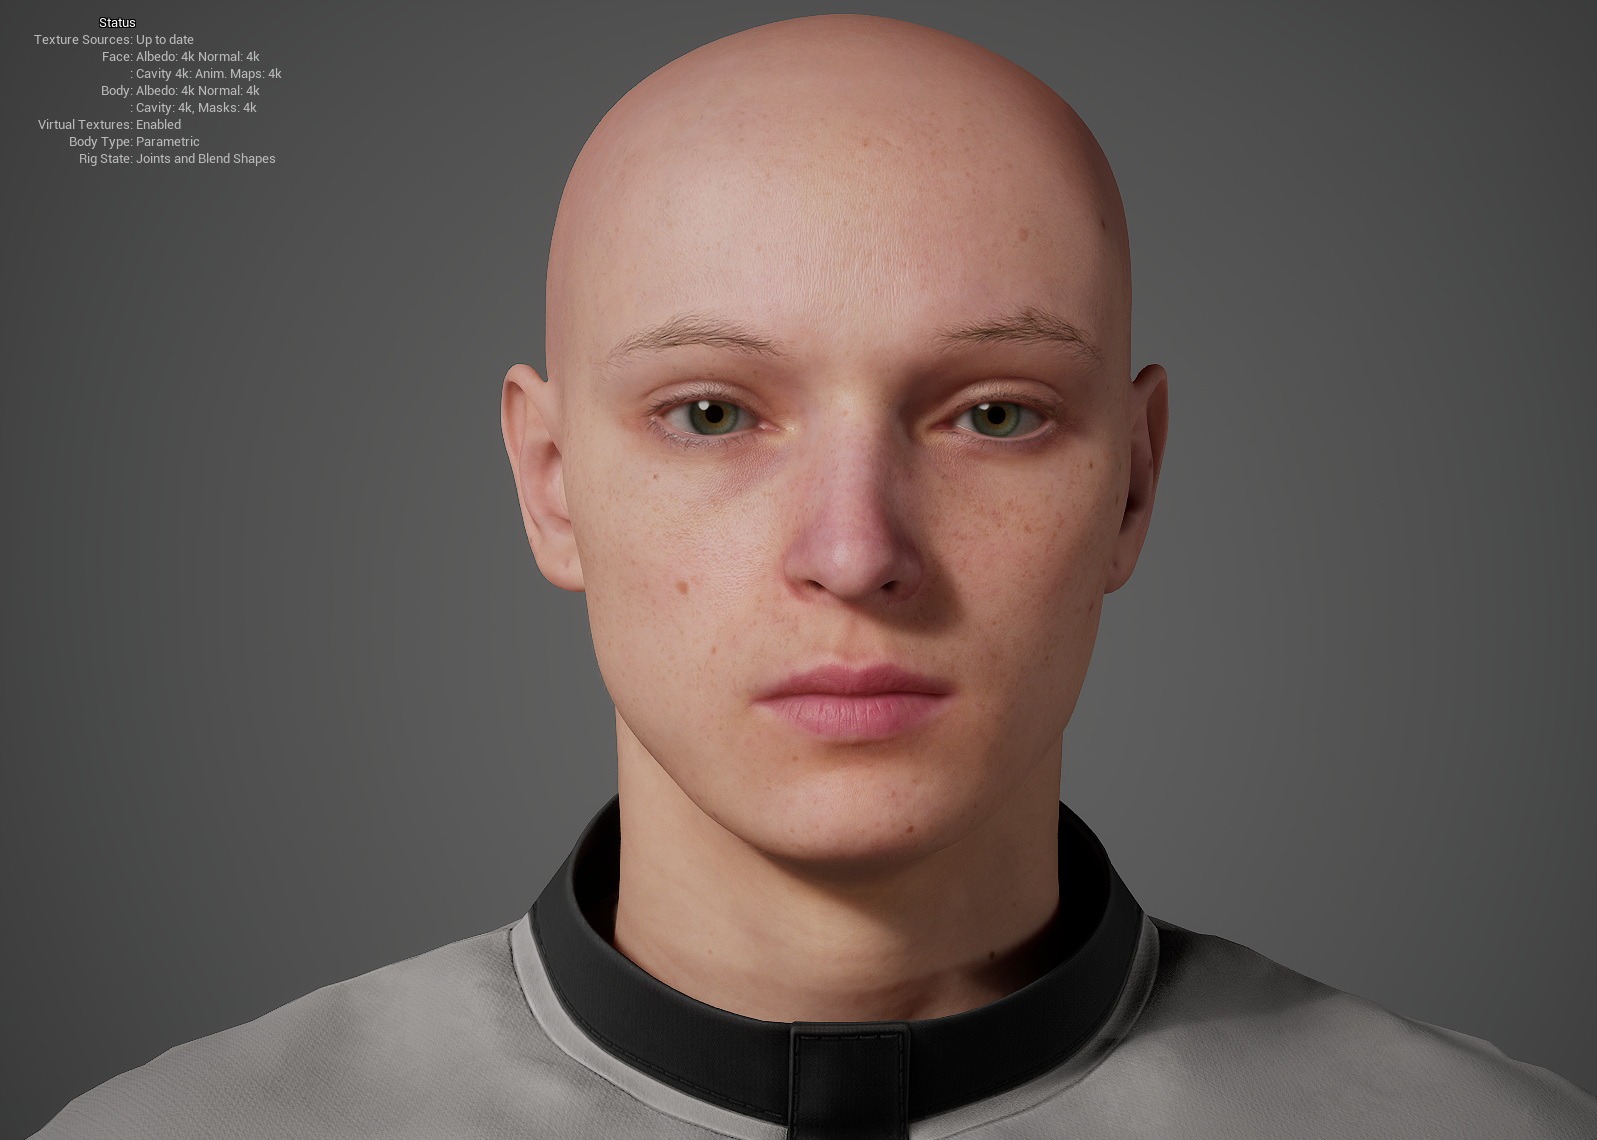 The assembled MetaHuman—ready for grooming, texturing tweaks, and animation.
Tip: If you edit the character later (e.g. fix a nose shape), you usually remove the rig, edit, then Create Full Rig, Download Texture Source, and Assemble again. It's a pipeline, not a one-click undo—so saving versions of your Identity and Character pays off if you like to experiment.
For a detailed visual walkthrough of the Identity and Character workflow, I highly recommend this video. It lines up with what we did here.
Next up: We take that head and give it hair that actually looks like yours. In Part 3, we dive into custom grooming with Blender's curve system and importing it back into Unreal. Stay tuned.
Related Articles
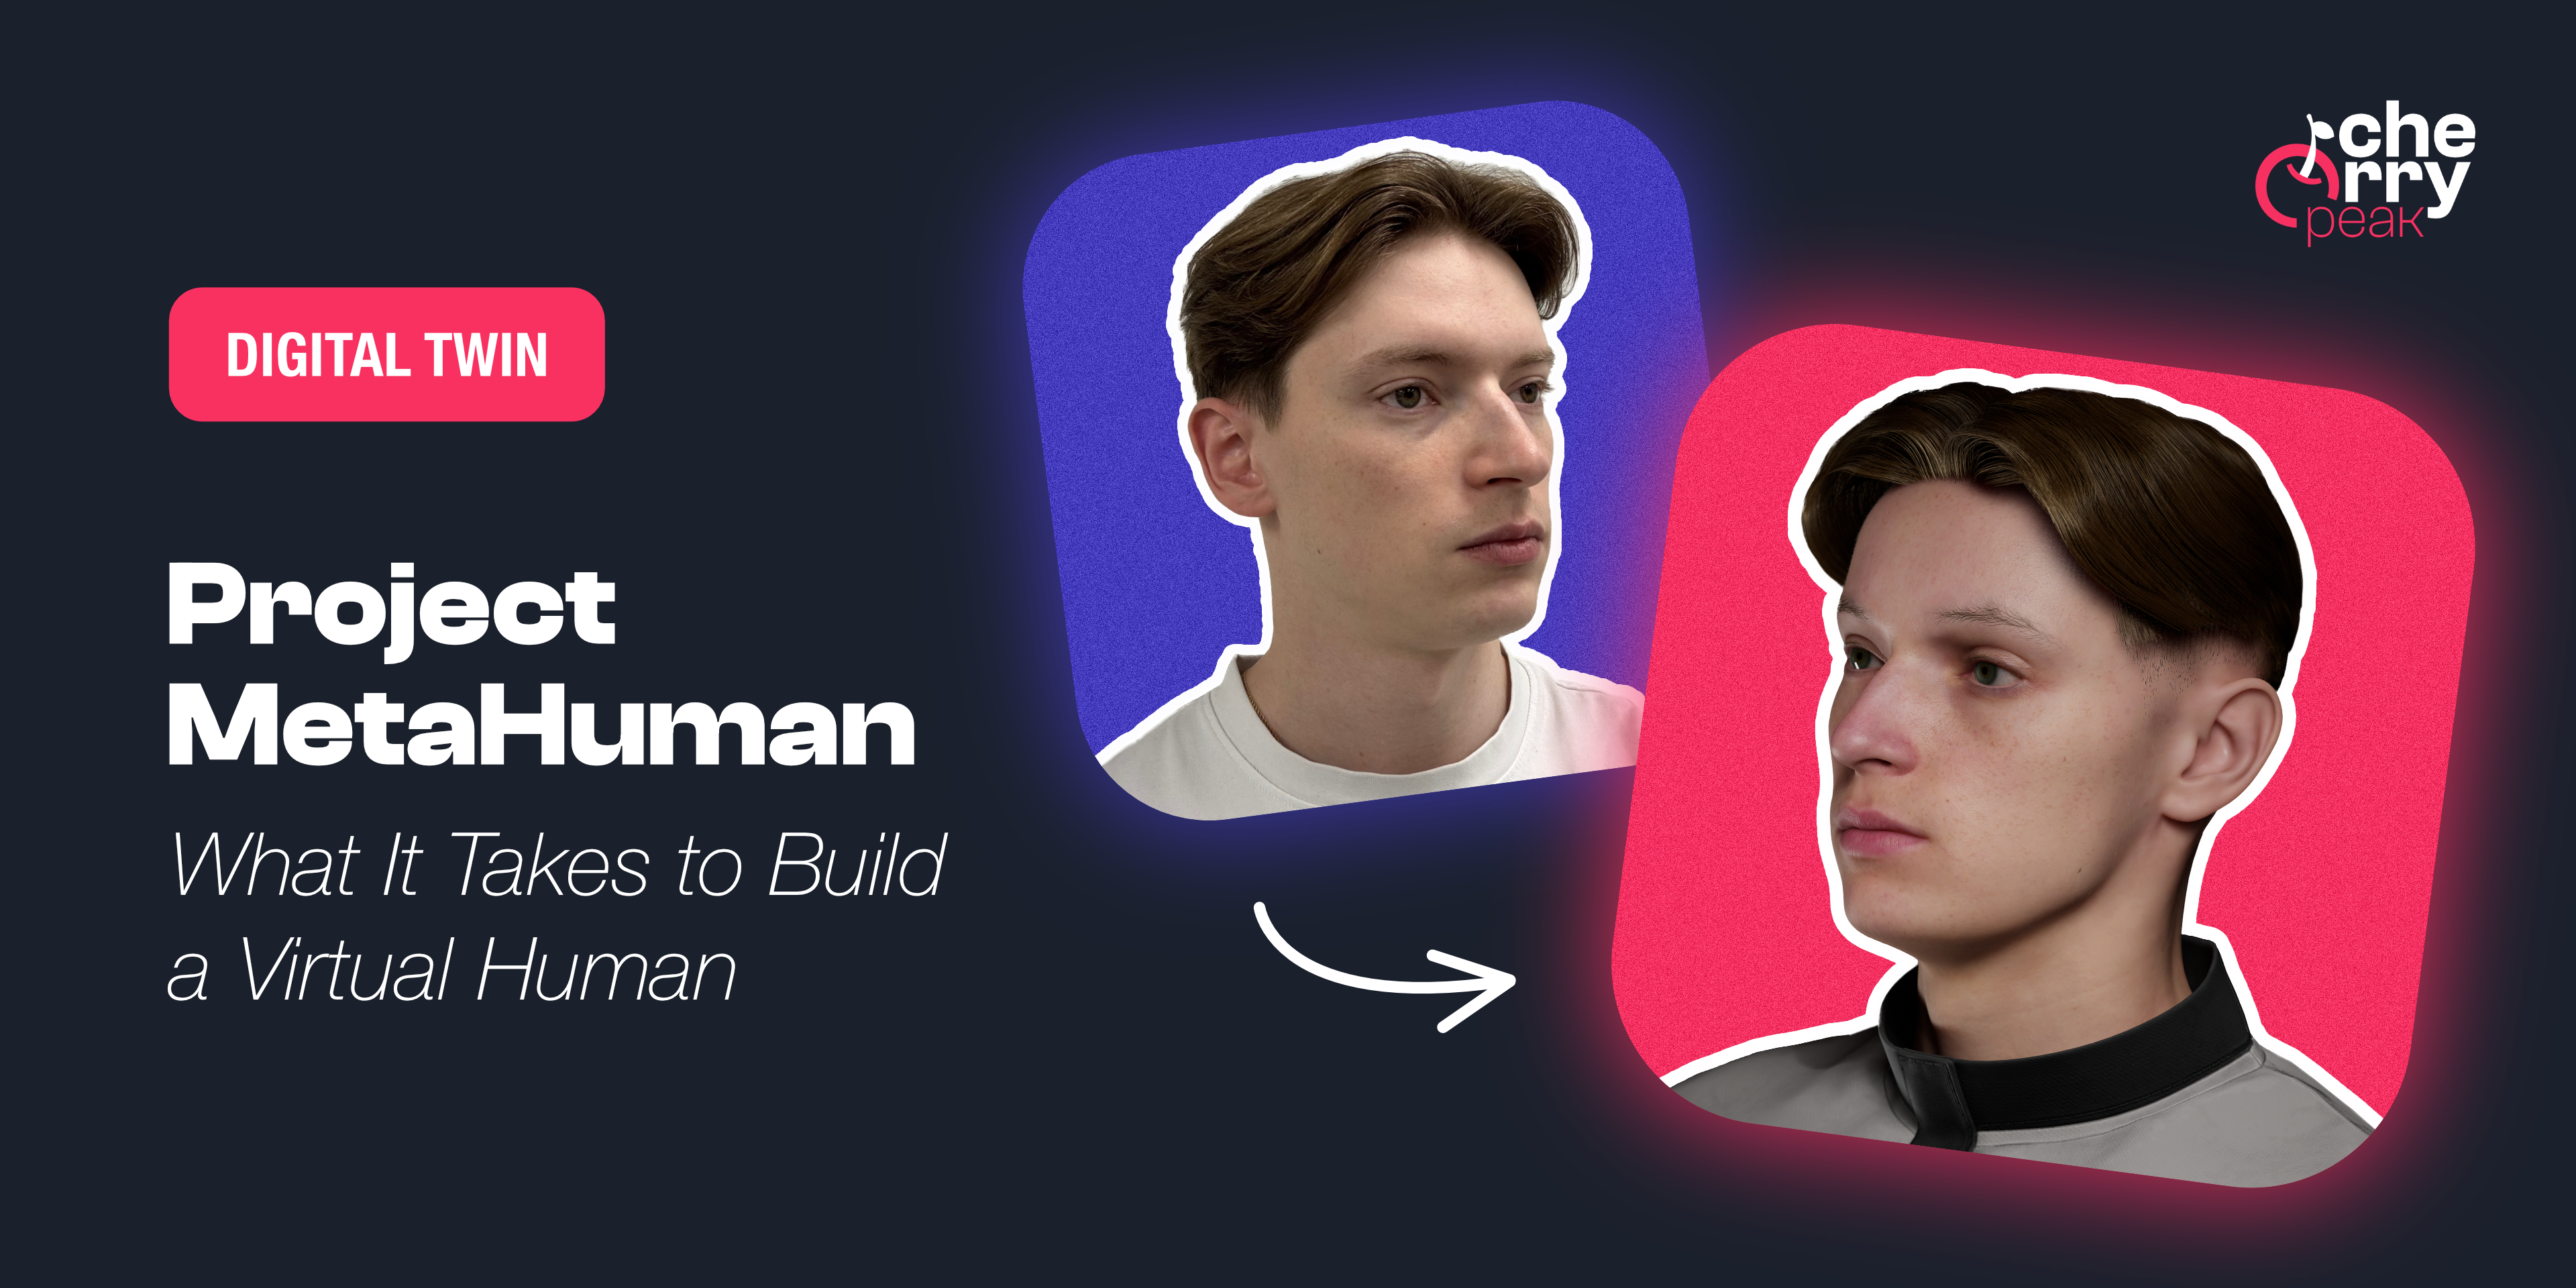
Project MetaHuman: What It Takes to Build a Virtual Human
A developer's journey into creating a photorealistic digital twin using Unreal Engine's MetaHuman framework, from smartphone scanning to final render.
Dec 1, 2025
5 min read
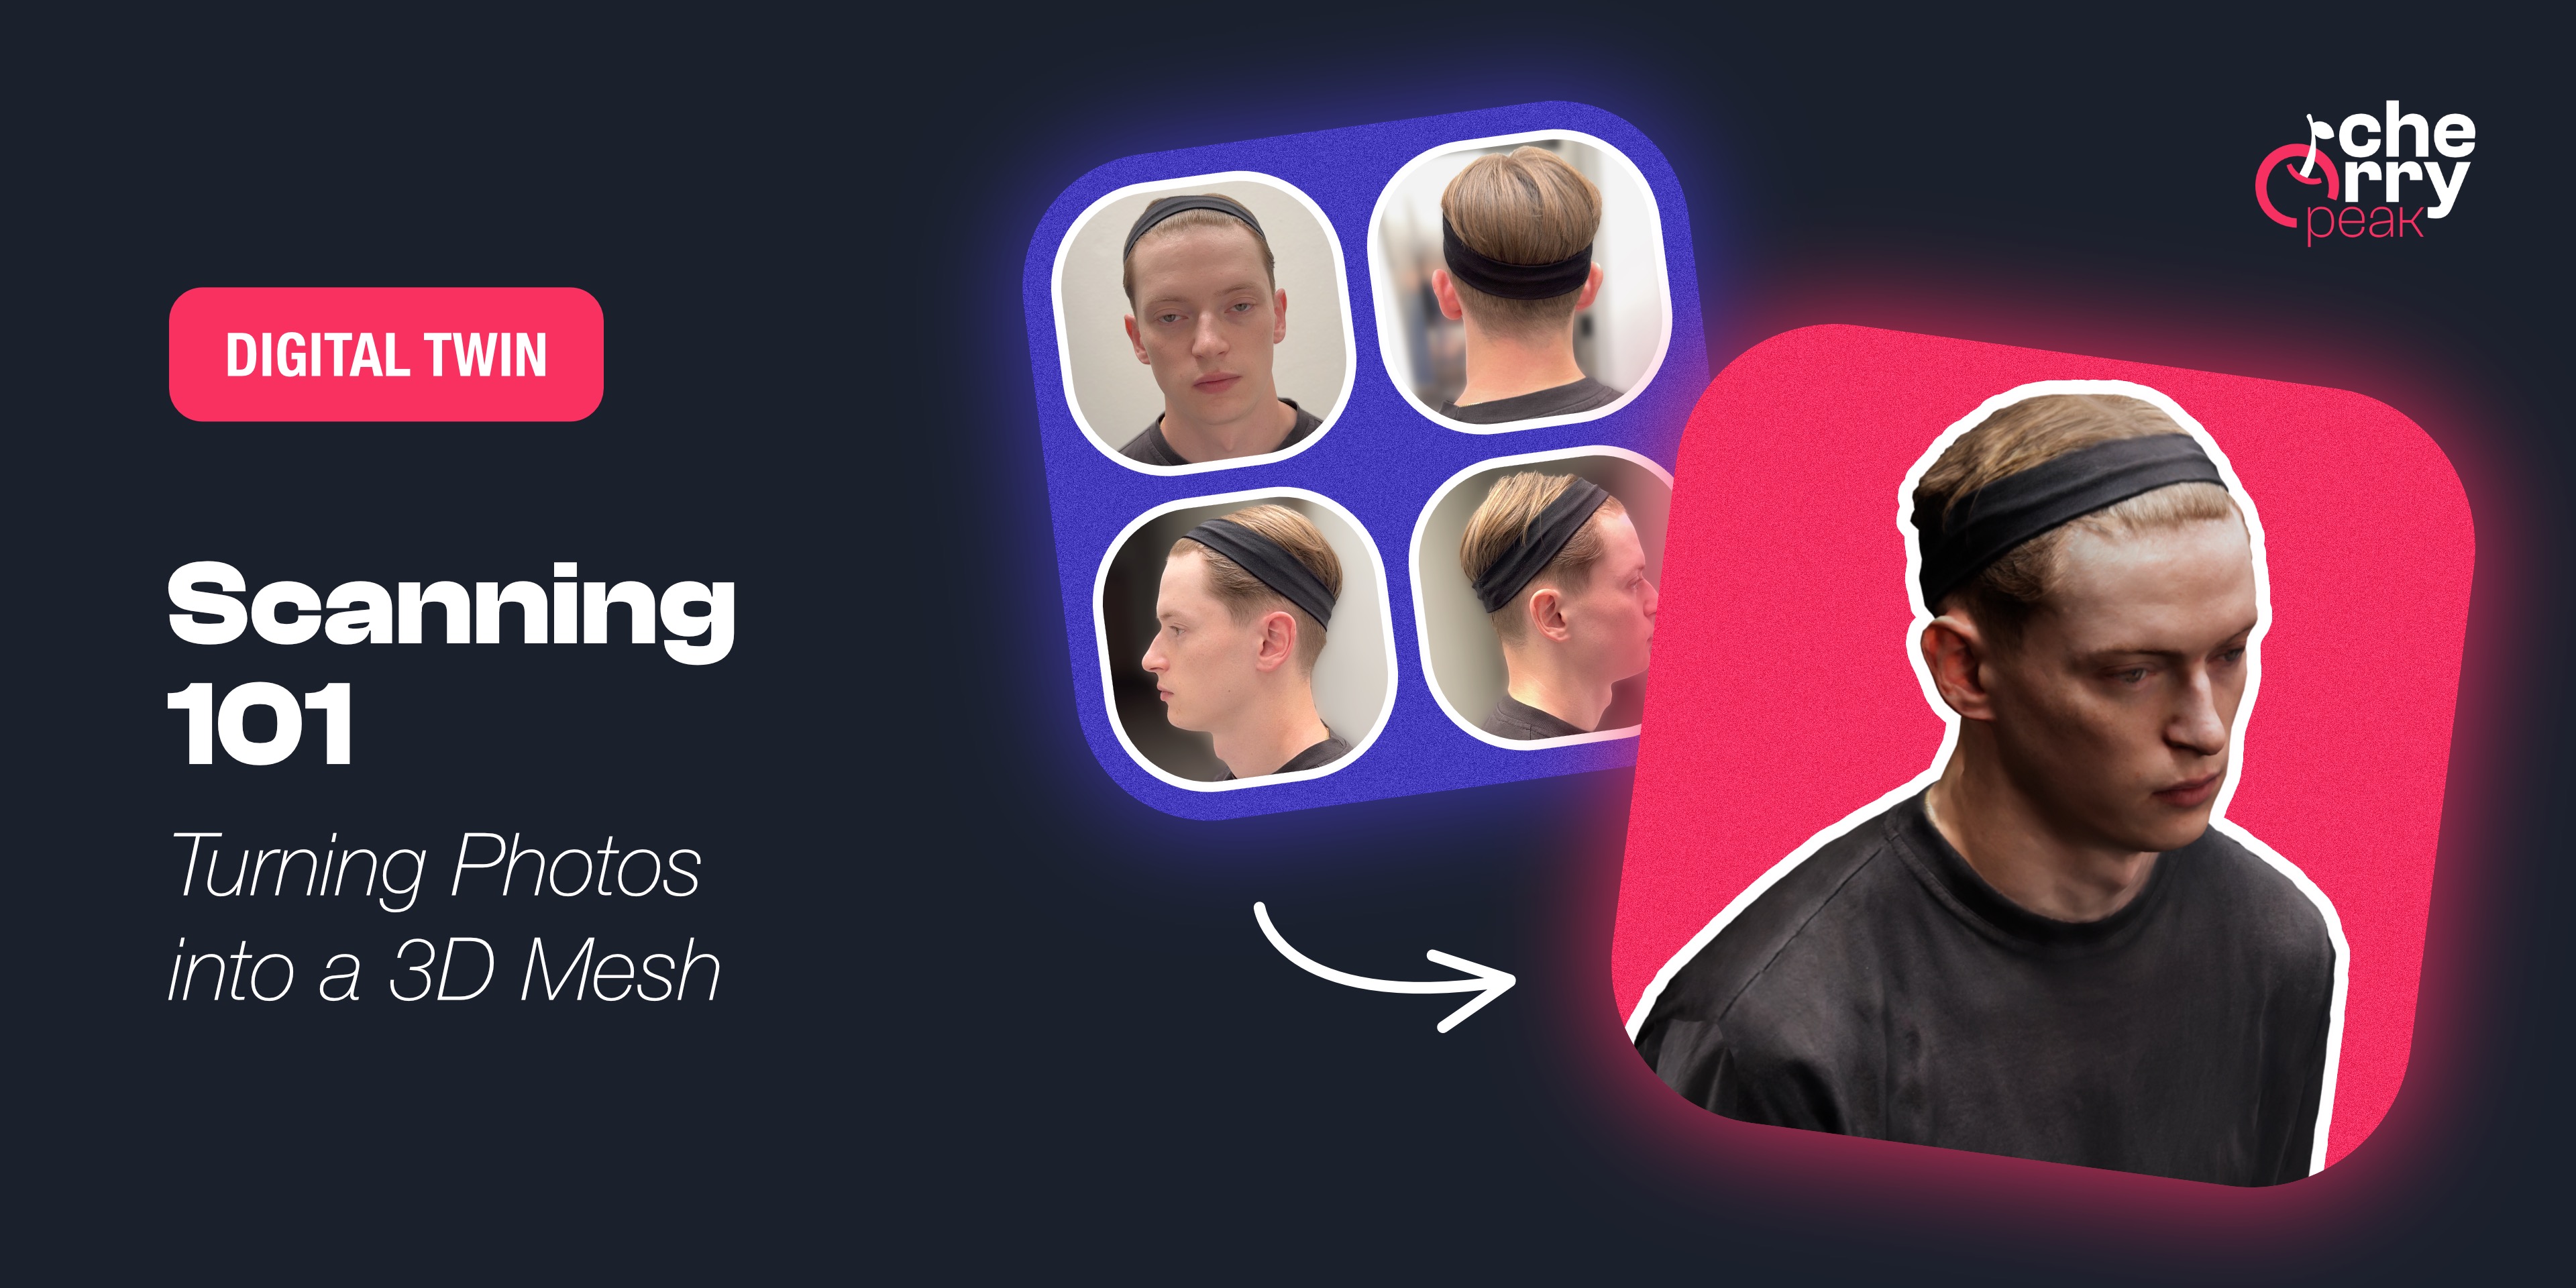
Scanning 101: Turning Photos into a 3D Mesh
Learn how to capture a high-quality 3D scan of your face using photogrammetry. From Apple's Object Capture to Polycam, discover the tools and techniques for creating the foundation of your MetaHuman.
Dec 10, 2025
4 min read

How Augmented reality (AR) is changing the way we design digital products
Augmented Reality has emerged as a transformative force in digital product design, fundamentally altering how we approach user experience, interface design, and product development.
Mar 20, 2024
6 min read